Initial Setup
This guide will walk you through the initial setup process of VRCT after installation.
Step 1: Launch VRCT
After installing VRCT, locate the VRCT application icon on your desktop or in your start menu and double-click it to launch the application.
Step 2: Configure VRChat OSC Settings
To enable VRCT to communicate with VRChat, you need to configure the OSC (Open Sound Control) settings in VRChat. Follow these steps:
- Open VRChat and go to the Expression Menu.
- Navigate to "Option" -> "OSC" -> "Enable".
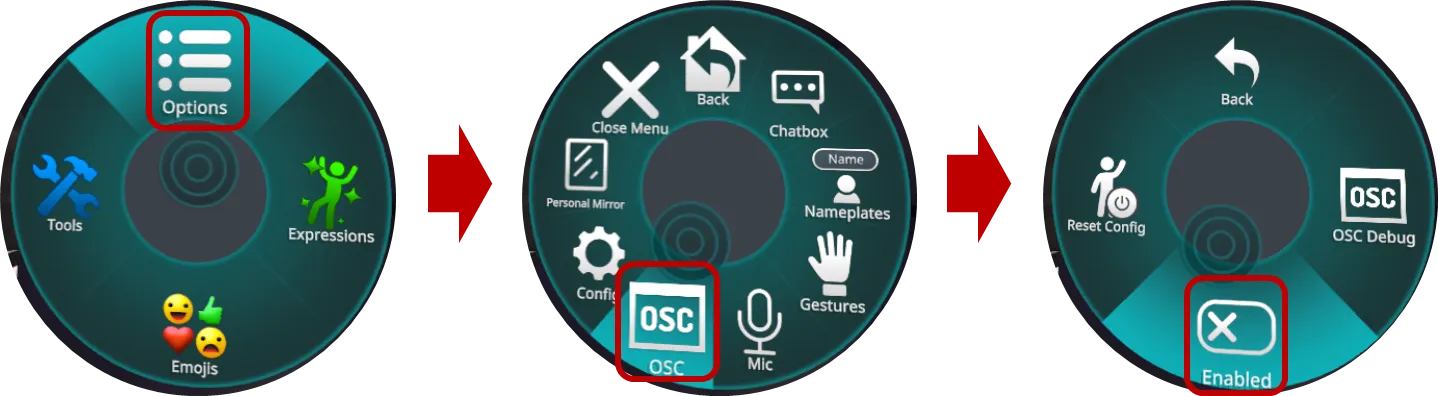
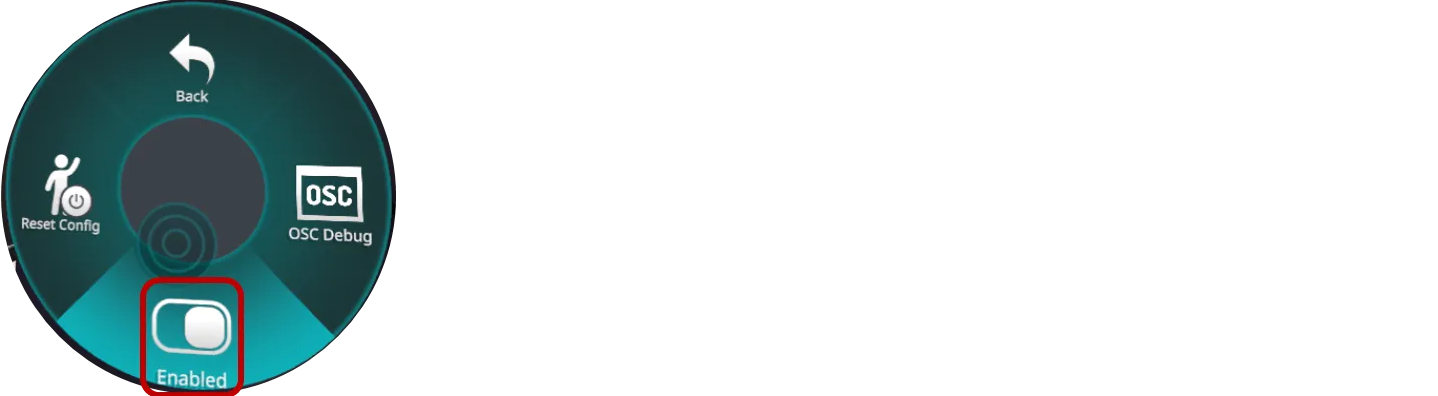
- Enable the "OSC" option by toggling the switch.
Step 3: Configure Basic Settings
When launching VRCT, default settings will be automatically applied. Please review and modify the following settings as needed:
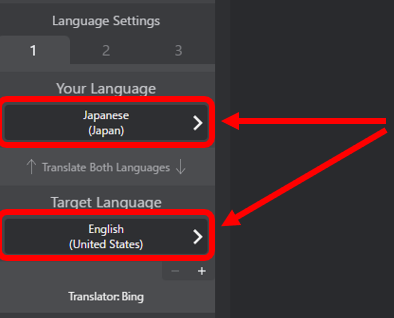
Language Settings
Select the language you speak and the language you want to translate to.
- Your Language: Select the language you will be speaking.
- Target Language: Select the language you want to be translated into.
Microphone and Speaker Settings
Choose the microphone and speaker devices you want VRCT to use for voice translation.
- Open the Config Window by clicking on the "⚙️Configure" button.

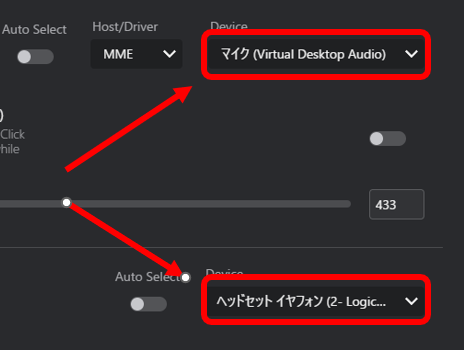
- Select the Device Tab.
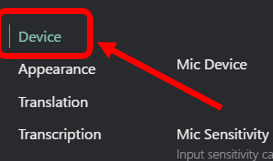
- Mic Device: Select the microphone device you will use for input.
- Speaker Device: Select the speaker device you will use for output.
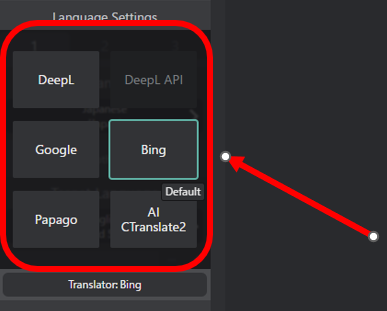
Translation Engine Settings
Select the languages you want to translate between during conversations.
- Click the Transcription Engine list.
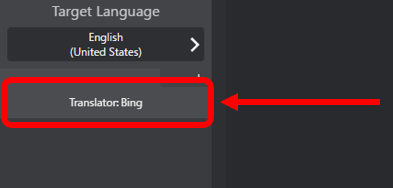
- Choose the desired transcription engine.